home about contact favorite featured blogs

Friday, August 23, 2013

One Hour Baby Project... Minky Taggy Blanket


I have seen these taggy blankets before and they look so cute and fun! I had some extra blue minky from another project, so I thought I would try to make one. Seriously it took less than an hour and the only reason that it took that long is because I had to decide between all my different blue ribbon ha ha. 


First things first.. cut the minky. I made mine square, about 24 inches x 24 inches. But you could make it any size that you want. So you should now have two sides of minky that can match up in size. 


The next things I did was pick out all of the different ribbons that I wanted. I know that a lot of times these blankets just have silky ribbon, but I decided to pick out a bunch of different types of ribbon. I placed them around the blanket just to see where I wanted them, but if you have better visualizing than me you can skip this step. 


Once I decided where I wanted all the ribbon, pin them in place. Pin them on the right side of one of the minky squares. Make sure the loop side of the ribbon is facing the inside of the square. Then I sewed each of the ribbons on. 


Next step is to put the two minky sides right sides together and sew along the edges. Leave about a 4 inch opening so that you can turn it right side out. Then sew the opening closed. 


TA-DA! Done. Minky Taggy Blanket in less than an hour. :)


31 Weeks.... Only a little bit to go!

Photobucket

Friday, July 19, 2013

I love July!

Happy Birthday America! Isn't July such a fun month?? Steven and I both just love the 4th of July. We have been out of town and super crazy busy with life, so I need to catch up on my July crafts. 

For the 4th, I made this fun quilt! I have always wanted to make a flag quilt but I have always been to busy. After graduating and now only having one job, I finally had time to do it. Yay!! Honestly the hardest part about this was the math to keep everything proportianate. But I think that it turned out really well! I didn't take a picture of the back, but it is all squares of levi. 


Here are a couple of crafts from my friends that were too awesome not to share....

Amy made this INCREDIBLE wreath. She found everything at the DI or Dollar Store besides the wreath. For the wreath she went to Michaels (with a coupon!) and bought one of the wooden wreaths. She put everything on with a combination of wire and hot glue. Isn't it gorgeous??


Here is one that is from my friend Courtney. Her sister Kelsey made her this hat for her birthday. She had seen a hat like this that was name brand, and she figured that she could make it herself. I love this idea! She got a plain white hat and just colored in sharpie on the hat. This was the perfect 4th of July hat! And it made me excited because I thought of all the other things you could do with that idea. 


Hope you are all having a great summer!
Photobucket

Popcorn Cupcakes

So a few weeks ago was our cousin's birthday. For her party, we were going to see Monsters University (which I highly recommend!).  We decided to make popcorn cupcakes. I searched Pinterest for a tutorial and all I found was pictures. I finally found one but it took forever, so I decided that I would do my own little write up for those of you who also have this issue!


FirstI made the cupcakes, just using the confetti box mix. Once they were cooled and ready to frost, I got out the marshmallows. 


Cut the marshmallows into different shapes. I found that if you cut it in half in different angles, it works perfectly. 


Then just frost the cupcakes using whatever kind of frosting you like best. The frosting doesn't have to be perfect. You just need it to hold the marshmallows in place. It does need to have this shape though, because we want the marshmallows to look like a big bowl of popcorn, higher on top than on the sides. 


Next, you just stick those marshmallows all over the cupcakes. Smoosh lots of them in there so you can't see the frosting and that way it will look full. 


So next you need water and yellow food coloring. I took a water bottle and mixed some water and food coloring. Then lightly spray all of the cupcakes so all the "kernels" have a slightly yellow glow. You don't want them to get mushy, so just a couple of sprays should do it. 

Then I got out my cooking paint brush. I dipped the brush into the yellow water and carefully painted several kernels. That gives it the look of several kernels having more butter on them than others. 


They turned out really cute and they were super easy to make!


Photobucket

Thursday, June 20, 2013

Bed Head!

Well this has been long in the making! But finally it's here.. a crafting post! I have been anxiously getting our home all done the way I have envisioned it before I get too big pregnant to move. :) 

Here is one of our bigger projects.. Our bed. It was just a plain black bed from IKEA. It has been great, but I wanted to soften it up a bit and add a fabric head board. As you can see from the picture below, it really was just straight and black. We decided to paint all the furniture gray. So before I started on the headboard, Steven painted all of the bed parts gray that would be showing. 

Here are the supplies that I used to make the head board. The only thing missing in the picture is the staple gun. 


First things first.. I measure where the mattress started. The fabric and foam couldn't come down too far because then the mattress wouldn't fit. I marked the whole thing with painting tape so I knew my boundaries. 


Second, I had to measure how much to cut the foam. Foam is EXPENSIVE. I didn't realize how expensive until I was already into the project. So if you can think of a different material to use, I would highly recommend it. I marked where I need to cut so that I didn't cut too much off.


Once I cut it, I laid it out on the board to double check that it was the right fit. 


Then I did the same thing with the fabric. I didn't want to get started if I wasn't absolutely positive that the fabric was long enough... also I'm a little OCD. :) 


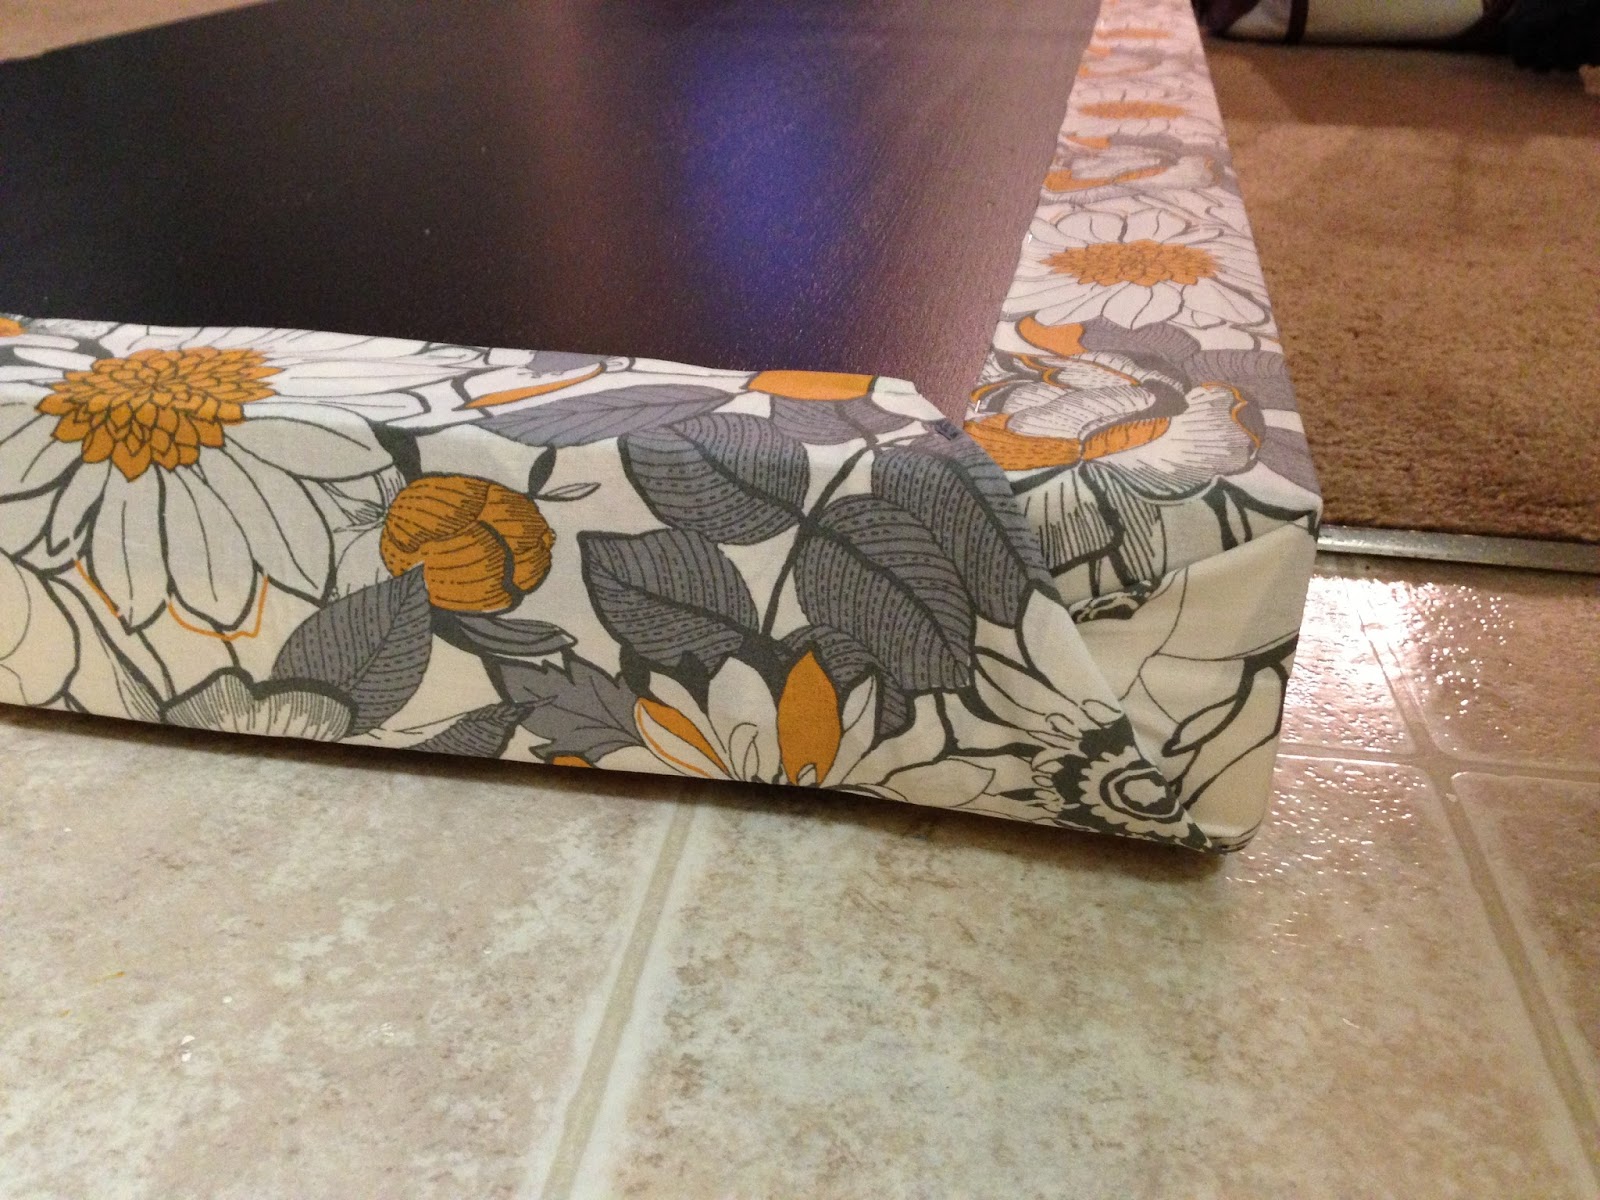
This is the part that some people find a little tricky. You want to put the fabric a little higher than where the bottom of the foam will sit. This is so the fabric will wrap around the foam and you don't see the raw edge of the fabric. 

I put blue tape down where I wanted to lay the fabric against. This gives a straight line so that the fabric doesn't go all wonky. 


This picture shows off the instruction better. You lay the fabric face down on the headboard right up against the tape. This is because you will fold the fabric up and over the foam and the fabric is all in a straight line. 


I put in a staple every couple of inches. Having a small staple gun is great! They are really easy to use and I use it for a lot of different crafts. 


After I did the stapling, I removed the painting tape. 


Next step is gluing down the foam. I just used an all purpose glue. Really it is just to keep it in place while you do the rest of the project. 


After it dried, I had this cute assistant help me lift the headboard so that I could wrap the fabric around the back and staple it in place. I wrapped it just like I would a present, making sure to tuck all of the raw edges in so that they are hidden. Again, I did a staple every couple of inches. 


Next up was the buttons. I know that there is a way to sew them in, but this way seemed better and faster to me... 

First I measure where I wanted the buttons at. 


I had Steven take his dremmel and grind off the back of the buttons so that they were flat.


Then Steven drilled a screw and washer into the spots I had marked for the buttons. 
You need to make sure to use a washer so that it doesn't break the fabric. 


Then I took my hot glue gun and glued the flat button onto the nail and washer. It was way easy!


I think that it turned out really well! It fits our room perfectly and it was a really easy and fun project. Now I just want to get a new cute comforter to match! 

Photobucket

Saturday, June 8, 2013

Boy or Girl?


Ah! Another post... Can you believe how long it has taken me the last few weeks?? Well last night was something a little extra special so it definitely warrants a post. Yesterday we had our gender revealing ultra sound, our 20 week one. Can I tell you how exciting it was! So we had a party planned for our family. I got this idea off of Pinterest...
We borrowed a giant box and filled it with balloons....


Then we had our parents come over and open it up to see if they are going to have a grandson or granddaughter...


It's a BOY!!! As you can tell from our family picture... we are definitely heavy on the girls so I was more than ready to have a little princess. Both Steven and I are very good with the girls and we love them. What do I do with a boy? I guess that I am going to have to learn how to play football and trucks pretty fast! :)


A lot of people ask me if I thought it was a boy or girl. About a month ago, Steven and I were talking about what we would rather have. I said girl because I know girls so well. Steven was telling me how bad he wants a boy because he wants to take a little buddy fishing and teach him how to drive the boat. Then he said that besides being married, being a big brother is his favorite thing in the whole world and he really wants our boy to have that chance. I think that was the moment that I knew he had prayed the baby into a boy. And we are so excited!!


Now that I am feeling better, graduated, and working a lot less (thank you husband!!), I will FINALLY be able to get some more crafting posts up! I have rehopolstered the bed, painted the table and chairs, and started sewing again... so get ready for a crafting overload soon! Yay!


Photobucket