So much has happened in two weeks! Where to start? I did so many Christmas projects I thought my head was going to explode! And I loved every minute of it! :)
I guess we will start with the primary kids. We had 12 kids in our primary class. I made cookies for the lesson and I also brought them these tic tacs that I had decorated. I know what you are all thinking... "But they are so noisy!!" You are right, they are noisy. And that is exactly why I loved them! Usually I tell the kids they have to keep their candy under their seats while we are in primary and I say the old-as-stone saying that everyone says... "If you try to sneak a candy, I WILL see you and then I will take it away!"
Let's be honest, I won't see them. But! With these tic tacs I actually COULD hear them! Every time they went to sneak a candy, I heard the box shaking and boom! Busted. I'm telling you, from now on, I'm only getting noisy snacks!


********
Here is a craft that I have been seeing across Pinterest. It is a push pin holder made out of a frame.
First I bought a cheap frame that I liked. Then I bought fabric to match. I glued the fabric around the inside edges of the frame (taking the glass out of course).


One thing to remember is that you need to keep the fabric loose. You are going to fill it with fluff, so you need some slack.

This is blurry, but you get the picture. I filled it will fluff that I had in my fabric box.


It was so fast and easy, and it makes the perfect holder!
********
I originally saw this idea on Pinterest. I thought it was so cute and I really wanted to try to make it for my baby cousin. First mistake I made was waiting to start on this until the Wednesday before Christmas. In my mind it was going to be a fast-make, when in reality it took a long, long time!
Start out with a onesie and some ribbon. First you have to make the trunk of the Christmas tree.


I would first stitch the ribbon together, then I would stitch it onto the onesie. This would all have been a lot easier if I would have had a sewing machine.
The next two pictures show how I folded the ribbon when I stitched it.


I would put down all the layer and pin it. Then I know exactly where I need to be sewing. I don't have a lot of experience with different fabrics. One thing I learned is that stitching a onesie is hard! It is just really stretching so nothing stays put.

I was frantically trying to finish it, but luckily I got it done! What do you think? I wish that I would have started it a little higher, but I was learning as I was doing it. At least I will know for next time.


Isn't her little face to die for?

********
So I wanted to make something for baby cousin, but I wasn't sure what. While I was shopping one day I found this really could board. It's supposed to be a board that you change out the squares for squares of a cork board or chalk board, but I thought it would make such a cute puzzle. Obviously she is too little for it right now, but I thought it would be fun for her in a few months.
I started out by drawing the main object, an owl.

Then I took the block and modge-podged a solid background on them.

While that dried, I cut out the owl's eyes and traced it on a different color of paper. When you cut it out and trace it, it comes out the exact size that you need it.

I also traced the branch and some leaves and the beak and feet.

Then I would glue part of the owl down to one of the squares. I would take my blade and cut off the extra so it was perfectly straight. I did this with all the squares. When I was done gluing everything, I gave it a coat of texture cream.

This is baby cousin on Christmas holding her puzzle! Isn't she the cutest!!


This is Steven and I with my sisters and baby cousin on Christmas.
********
These are some lockets that I made my mom and myself. The first one is for my mom. I think this Pooh Bear quote is so sweet. Almost all of my favorite quotes come from Pooh Bear. 
On the other side I put our family picture. They were super easy to make. I got the lockets at Hobby Lobby. I printed the pictures out on the computer. My Mac makes it really easy to get the exact size that I want. I printed her quote out on printed paper so that it would have a cute background. I used a glass glue to glue down the papers to either side. That way they aren't sliding around. Then I added the ribbon for a finishing touch!

This is the one I made for myself. I just love the Grinch, in case you can't tell already! I found these images on Google and glued them the same way as I did my mom's.


********
I made these super cute tags for all of our white elephants. That way I don't get them mixed up with our presents. Really easy to make and they dress up the present a bit. I just found the elephant on google.

********
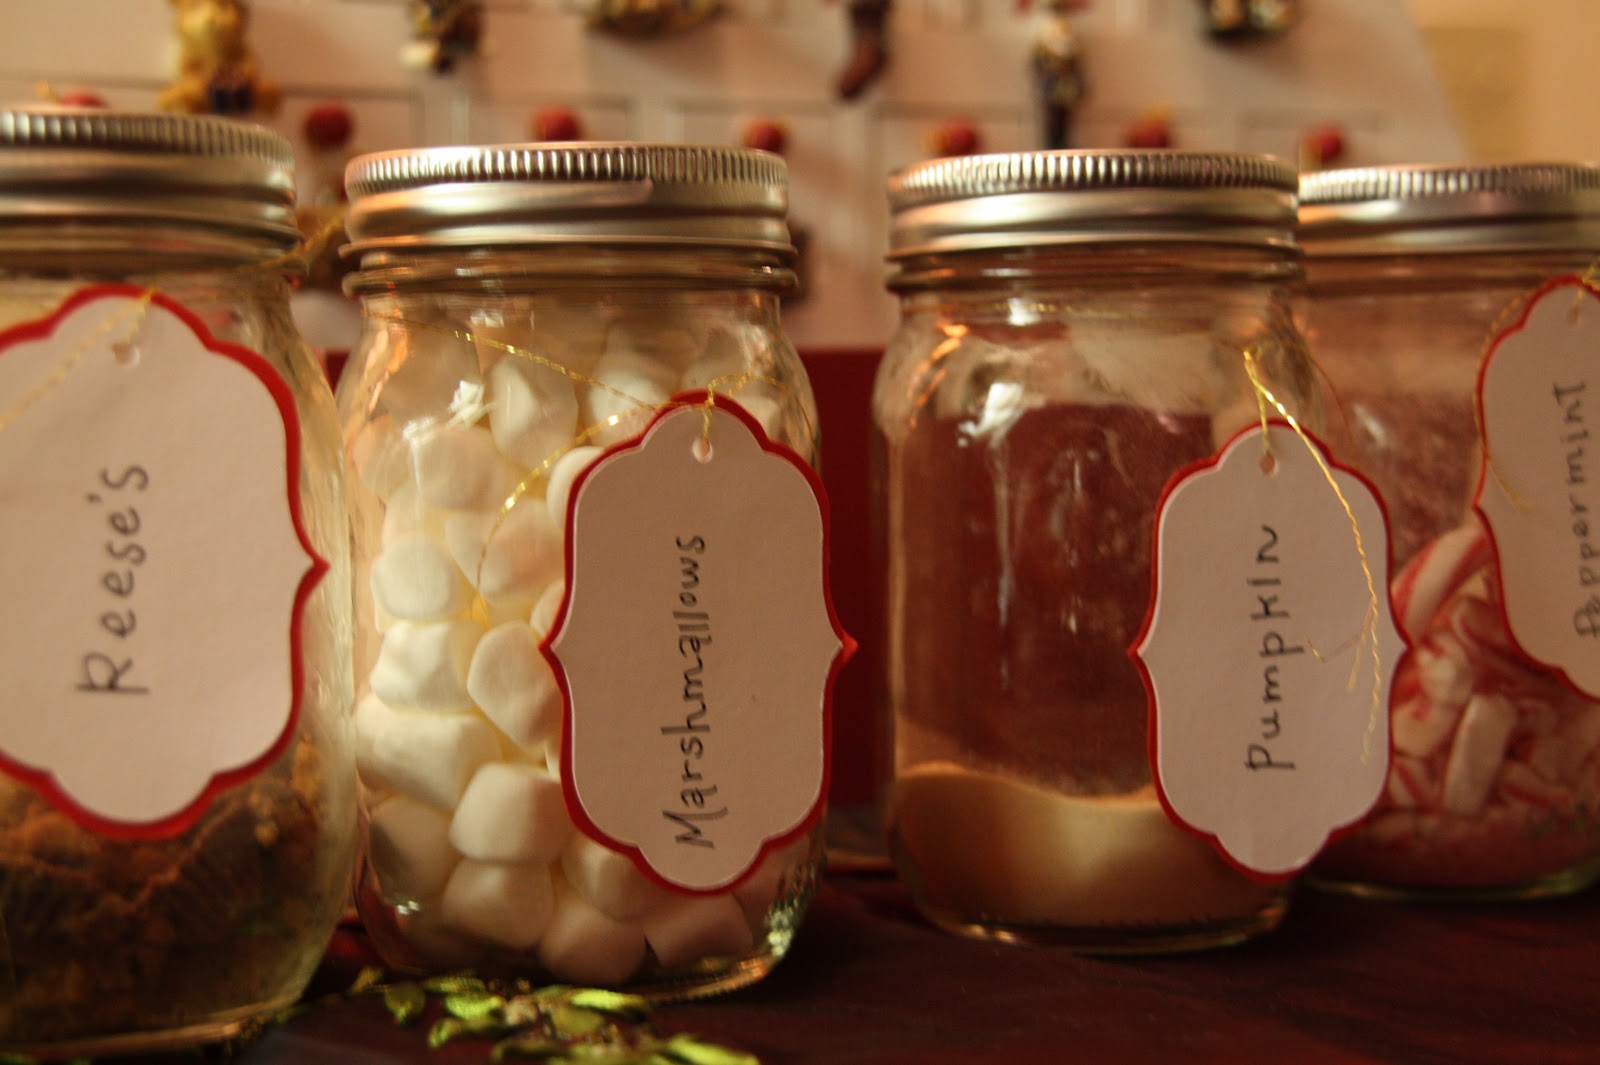
Christmas Eve morning we have a party with his cousins. I was in charge of the hot chocolate bar. We had one at our wedding and it was so much fun. I just made the tags using the Cricut machine.

We had cream and marshmallows and candy bars and peppermint and lots of other stuff. It was super super yummy!
********
Christmas Eve night we were with my family. We made graham cracker houses. They were all so cute that I had to show them off! This was Abbey's...

This was Melissa's....

This was Steven's and mine...

And this was Alexa's. It says 222 because that is the building that Steven works at and she made it for him. :)


********
I heard one of Steven's cousins talking about this cute idea and thought that we would try it out. Her mom had stockings for everyone in the family and each person would have to write one nice thing about everyone and put it in their stocking. At the end of the night they got to read all their notes. There was about 12 of us there. At first I had to kind of poke the boys into doing it, but it turned out to be SO much fun. The notes everyone wrote were so cute. I am keeping the stockings and the name tags so that we can do it again next year. (I just got the stockings at the Dollar Tree)


********
Look how exciting our Christmas looked!! The big blue box in the back was mine! No wonder I couldn't sleep for a week!

That big blue box contained my brand new SEWING MACHINE!!!! How amazing is that! We didn't have any time to play with it on Christmas, but the next morning Steven woke up early and set it all up for me. He laid out all my thread and had everything plugged in and ready to go. He had even read the instruction book so that he was able to give me a tutorial on it. Have I ever told you that I have the BEST husband??

I hope you all had a great holiday weekend!!
P.S. did you notice that I got a button!?