

Well this has been long in the making! But finally it's here.. a crafting post! I have been anxiously getting our home all done the way I have envisioned it before I get too big pregnant to move. :)
Here is one of our bigger projects.. Our bed. It was just a plain black bed from IKEA. It has been great, but I wanted to soften it up a bit and add a fabric head board. As you can see from the picture below, it really was just straight and black. We decided to paint all the furniture gray. So before I started on the headboard, Steven painted all of the bed parts gray that would be showing.
Here are the supplies that I used to make the head board. The only thing missing in the picture is the staple gun.

First things first.. I measure where the mattress started. The fabric and foam couldn't come down too far because then the mattress wouldn't fit. I marked the whole thing with painting tape so I knew my boundaries.


Second, I had to measure how much to cut the foam. Foam is EXPENSIVE. I didn't realize how expensive until I was already into the project. So if you can think of a different material to use, I would highly recommend it. I marked where I need to cut so that I didn't cut too much off.


Once I cut it, I laid it out on the board to double check that it was the right fit.

Then I did the same thing with the fabric. I didn't want to get started if I wasn't absolutely positive that the fabric was long enough... also I'm a little OCD. :)

This is the part that some people find a little tricky. You want to put the fabric a little higher than where the bottom of the foam will sit. This is so the fabric will wrap around the foam and you don't see the raw edge of the fabric.
I put blue tape down where I wanted to lay the fabric against. This gives a straight line so that the fabric doesn't go all wonky.

This picture shows off the instruction better. You lay the fabric face down on the headboard right up against the tape. This is because you will fold the fabric up and over the foam and the fabric is all in a straight line.

I put in a staple every couple of inches. Having a small staple gun is great! They are really easy to use and I use it for a lot of different crafts.

After I did the stapling, I removed the painting tape.

Next step is gluing down the foam. I just used an all purpose glue. Really it is just to keep it in place while you do the rest of the project.

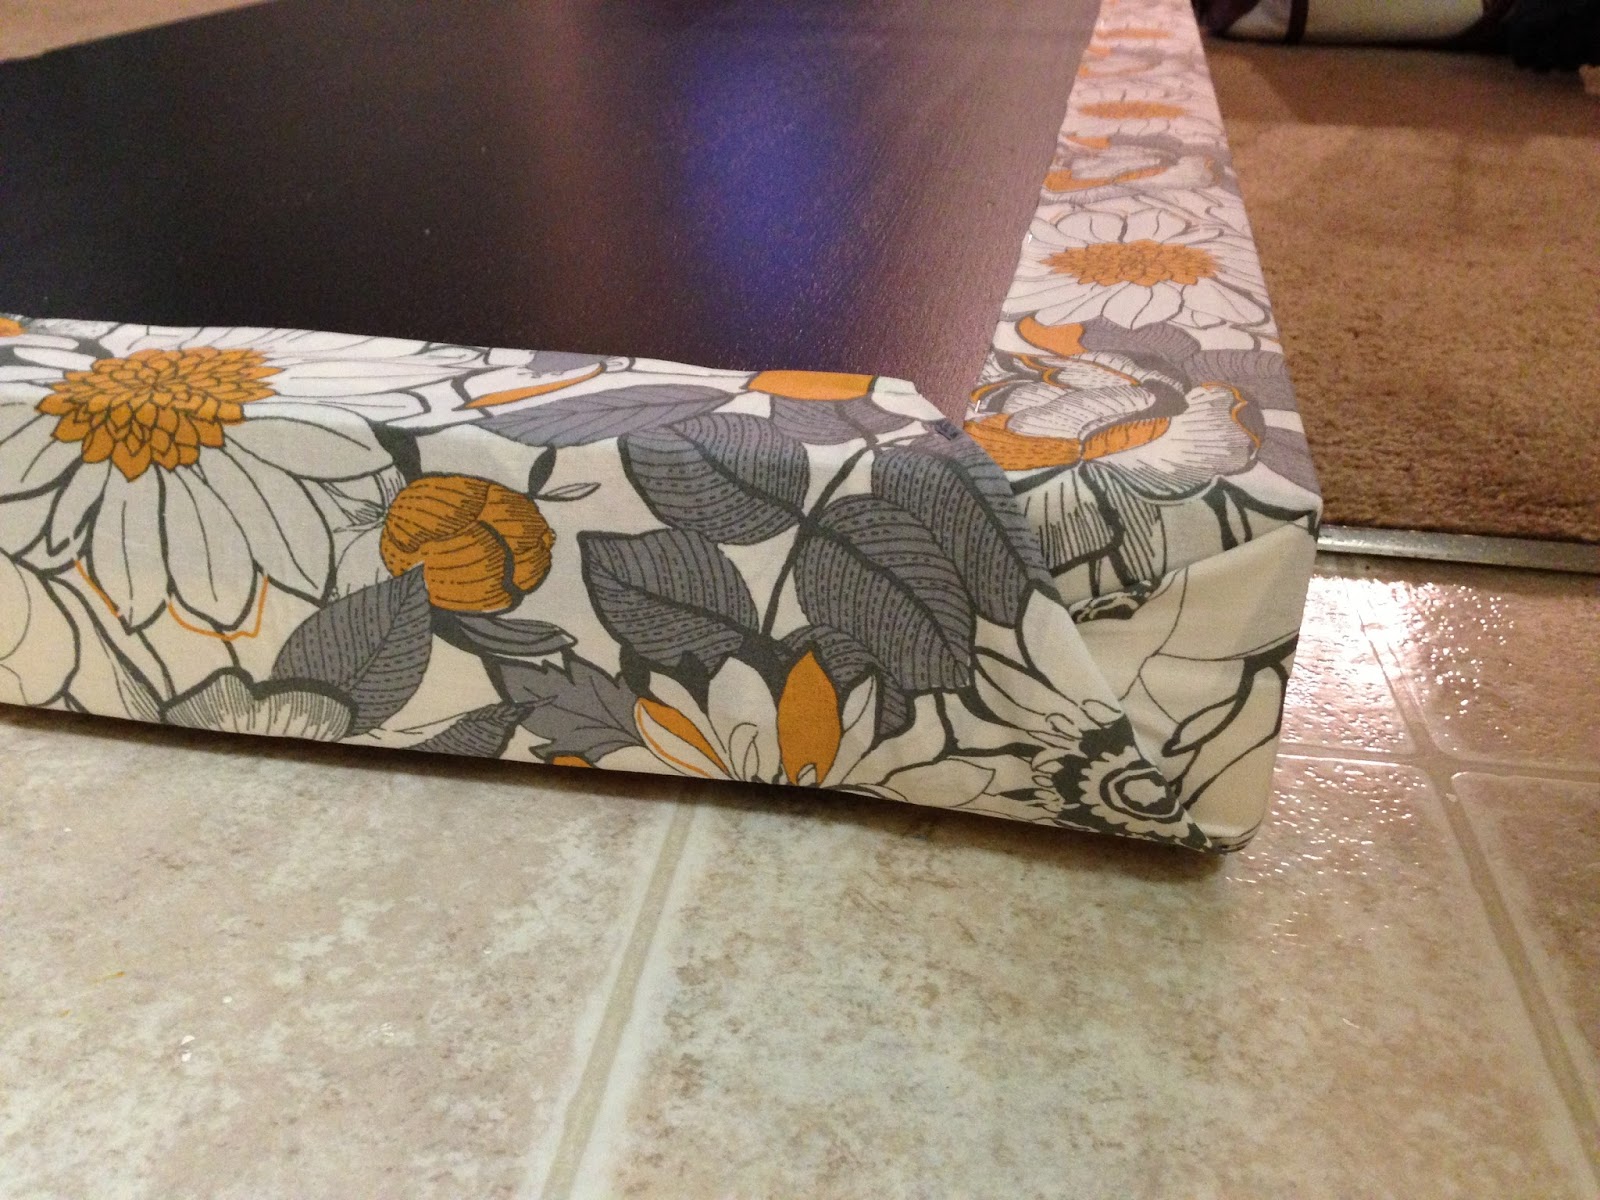
After it dried, I had this cute assistant help me lift the headboard so that I could wrap the fabric around the back and staple it in place. I wrapped it just like I would a present, making sure to tuck all of the raw edges in so that they are hidden. Again, I did a staple every couple of inches.


Next up was the buttons. I know that there is a way to sew them in, but this way seemed better and faster to me...
First I measure where I wanted the buttons at.

I had Steven take his dremmel and grind off the back of the buttons so that they were flat.

Then Steven drilled a screw and washer into the spots I had marked for the buttons.
You need to make sure to use a washer so that it doesn't break the fabric.


Then I took my hot glue gun and glued the flat button onto the nail and washer. It was way easy!


I think that it turned out really well! It fits our room perfectly and it was a really easy and fun project. Now I just want to get a new cute comforter to match!


No comments:
Post a Comment